You have a photo of something, a pot plant, a toy, the odd lamp your grandmother owned, and you want a plastic version you can hold. Search for how to print 3D images and you mostly get lithophanes and printer manuals. So here is the whole route in one place: photo to 3D model, model to STL, a size check, the slicer, then the printer.
The AI step is the quick part. The steps around it are where prints fail, and most of those failures are cheap to catch before you heat the nozzle.
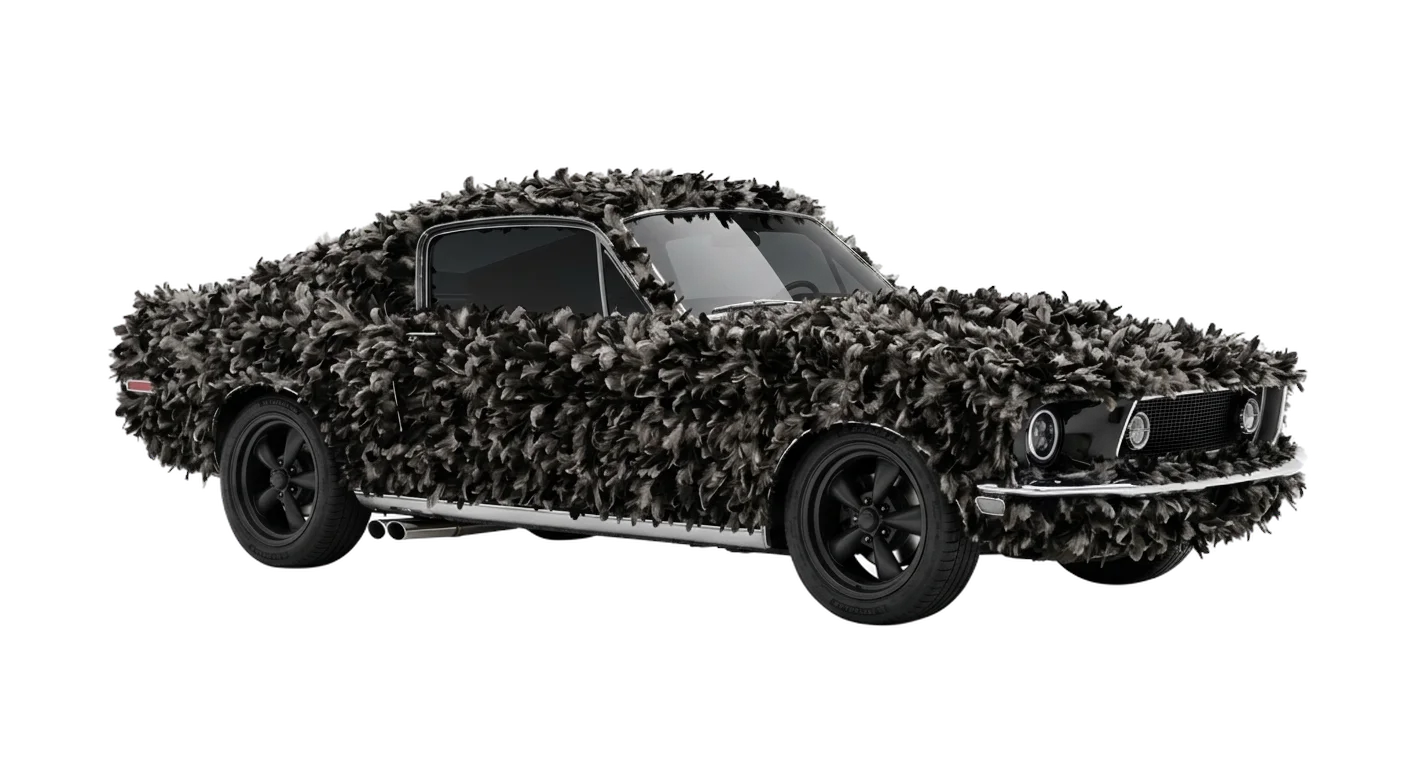
How to print 3D images: the route in five steps
- Pick or shoot a photo the AI can read.
- Turn it into a 3D model with Image to 3D.
- Save it as STL with the free 3D model converter.
- Check the size in millimetres in the free STL viewer.
- Slice it, then print.
Only step two costs anything: generating a model spends plan credits, and the amount depends on the model you pick. The converter and the viewer run in your browser, need no account, and never upload your file.
Step 1: Choose a photo that can turn into a 3D print
The model reads the outline of one object and guesses everything it can't see. Give it an easy outline and the guess gets better.
- One object, whole, with nothing cropped off the edges.
- A plain background. If yours is busy, cut the subject out with Remove Background first.
- Soft, even light. Hard shadows get read as dents, or painted onto the model as dark patches.
- A three-quarter view instead of dead-on, so there is some depth to read.
- Sharp focus on the silhouette.
Photos that fail
Glass, clear plastic and mirror-like chrome are the worst inputs, because the model sees what is behind or reflected in the surface instead of the surface. Thin parts are the next problem. When we ran a spindle-back chair through Hyper3D Rodin, every spindle came back as its own thin cylinder. That looks great on screen and is exactly the kind of part that snaps, or never prints at all, once the chair is shrunk to desk size.
One more trap: don't send a sheet with front, side and top views as a single image. We tried that with a plain white mug and got three mugs stacked on top of each other. If you have several angles, Hunyuan 3D Pro takes them as separate images.
Step 2: Turn the photo into a 3D model
Upload the photo in the studio from the Image to 3D page, or use the simpler generator on Convert a 2D Image to a 3D Model. Both run the same six models. For printing, they are not equal.
| Model | For printing | Watch out for |
|---|---|---|
| Hyper3D Rodin | Can give you an STL directly | Thin parts come back thin, as in the chair above |
| Tripo H3.1 | Clean shapes with a face limit you set | A low face limit softens small details |
| Meshy 7.1 | Remeshing and a target polycount | More settings to get wrong |
| Hunyuan 3D Pro | Extra back and side photos for a better guess at the hidden side | Dense meshes, heavy files |
| TripoSR | A fast check of whether your photo works at all | Low detail, treat it as a draft |
| TripoSplat | Skip it for printing | It makes a Gaussian splat, not a solid mesh |
If you want one answer, start with Hyper3D Rodin. Switch the geometry format to STL in its Advanced panel and you skip step three. The cost: an STL has no colour, so you get no textured version to keep. If you want both, generate a GLB and convert a copy. Our Hyper3D Rodin examples show what it made from real photos, including the stacked mugs.
Step 3: Image to STL, and which file format to keep
Most generators hand you a GLB: shape, colours and textures packed into one file. Slicers want STL or 3MF. Open the GLB in the 3D model converter, pick STL, and download. It warns you that colour will be dropped, which is fine for a single-filament print.
| Format | What it holds | Use it for |
|---|---|---|
| GLB | Shape, textures and materials in one file | What the generator gives you; viewing, Blender, game engines |
| STL | Triangles only. No colour, no units | Getting the model into any slicer |
| 3MF | Geometry with units, plus colours and print settings when a slicer saves it | Saving your slicer project |
| OBJ | Shape, with materials in a separate file | Editing in other 3D software |
Our recommendation: convert to STL to get into the slicer, then save your work from the slicer as a 3MF project. That keeps your orientation, supports and settings together. The converter can read 3MF but can't write it, so that 3MF has to come from the slicer.
Step 4: Check the size and the walls
Drop the STL into the STL viewer. It shows width, depth and height in millimetres and inches, plus the triangle count. Compare that against your printer's bed, and decide on a real size now, because every other check depends on it.
Then look at the thinnest parts. On an FDM printer with the common 0.4 mm nozzle, a wall thinner than about two nozzle widths, so roughly 0.8 mm, is a gamble. Leaf tips, sword blades, fingers and chair spindles are the usual suspects. Printing bigger fixes thin walls, but it costs you: scale a model to twice the size and it has about eight times the volume, so far more plastic and a much longer print.
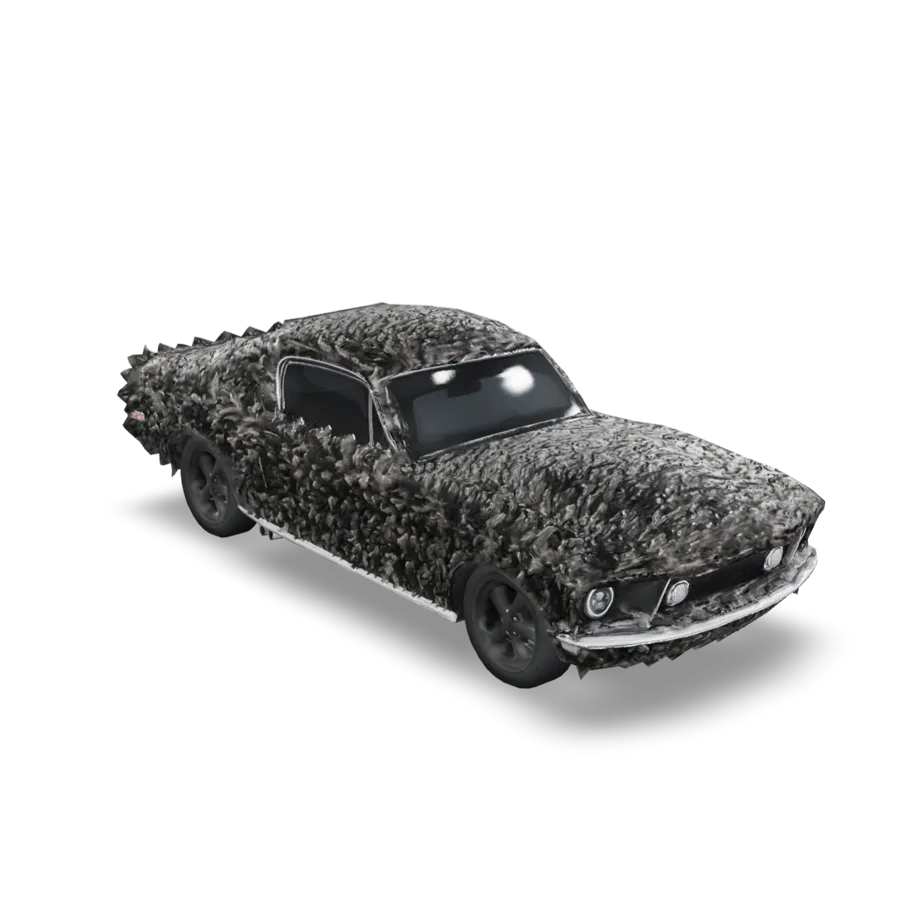
- Turn it over. A missing or ragged underside is common.
- Look for floating bits that aren't attached to anything.
- Overlapping parts. A succulent we ran through Hyper3D Rodin came back with every leaf as its own overlapping shell. Many slicers merge parts like that, but check the layer preview where they meet.
- Engraved or raised details that turned out to be texture only.
Step 5: Slice it and print a 3D model from a picture
The slicer turns the mesh into layers and toolpaths. The common free ones are UltiMaker Cura, PrusaSlicer, Bambu Studio and OrcaSlicer. Use the one made for your printer, since it ships with profiles already tuned for it: Bambu Studio for a Bambu Lab machine, PrusaSlicer for a Prusa. OrcaSlicer is a good pick if you run printers from more than one brand.
- Layer height. 0.2 mm on a 0.4 mm nozzle is the usual default. For a small figurine, 0.1 to 0.15 mm looks smoother and takes noticeably longer. Keep it between about a quarter and three quarters of the nozzle width.
- Orientation. Flattest side down. If there isn't one, PrusaSlicer, Bambu Studio and OrcaSlicer have a cut tool that slices a flat base off the bottom.
- Supports. Overhangs steeper than about 45 degrees from vertical usually need them. Tree supports (organic in PrusaSlicer) come off organic shapes more cleanly.
- Infill. 10 to 20 percent is plenty for a decorative piece.
Before you press print, read the slicer's estimate. It shows the print time and how much filament the job uses. Halving the layer height roughly doubles the number of layers, and the time goes up with it. That estimate is the honest price of every choice above.
Lithophanes: the other way to print a photo
Some people searching this want something different: a lithophane. That is a thin panel whose thickness follows the brightness of the photo. Held against a light, thick areas look dark and thin areas glow, so the picture appears. It needs no AI and no 3D model of the subject, and it looks like a blank textured tile in normal light. If you want the photo itself on a lamp or a window, make a lithophane. If you want the object in the photo, follow the steps above.
The short version
Use one object, plain background, soft light, and nothing glass or shiny. Generate the model, ideally with Hyper3D Rodin set to STL, or convert the GLB to STL in the browser. Check the size in millimetres and the thin parts, expect texture-only detail to vanish, then slice with your printer's own slicer and run a small test print first.
To try the first step with your own photo, start on the Image to 3D page. The converter and STL viewer are free whatever you decide.


