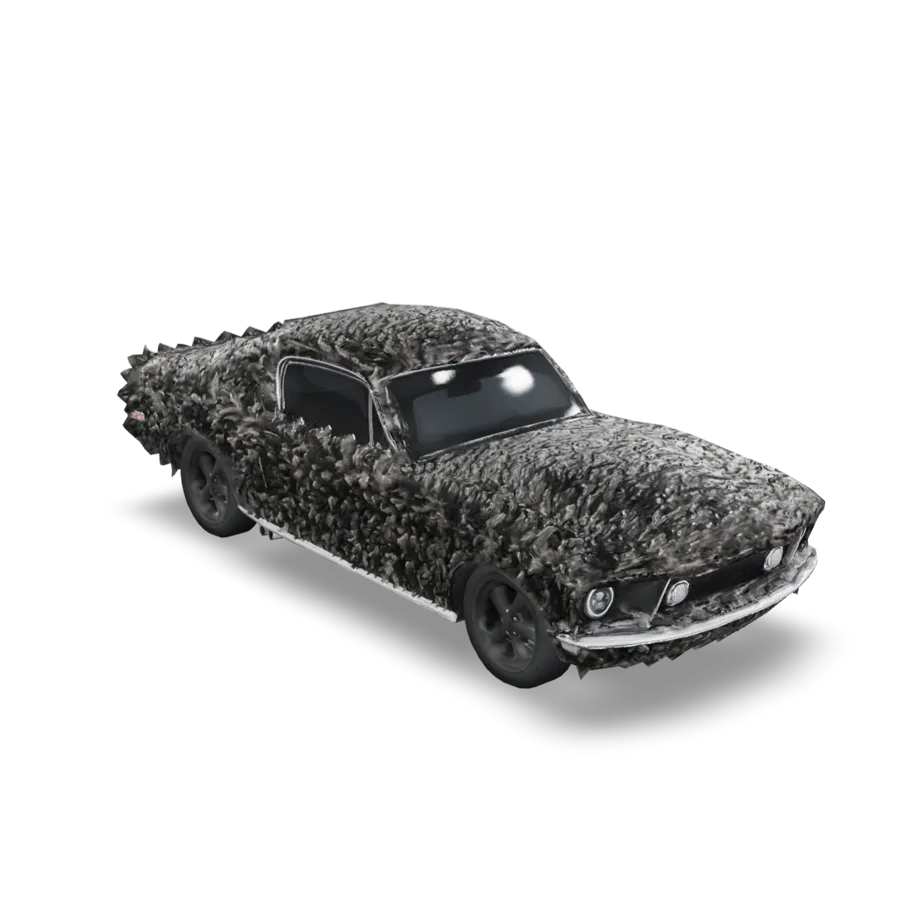
You found Hunyuan 3D through a demo clip or a GitHub repo, and now you want to know whether it can turn your photo into a usable model, and what the settings do. This guide covers the Hunyuan 3D version that runs in the studio here: what it takes in, the three settings that change the result and the price, how to shoot photos for it, and where it falls short.
What Hunyuan 3D is, and which version runs here
Hunyuan 3D is Tencent's family of 3D generation models. Like the other generators in this space, it builds a shape first and then paints a texture onto it. Tencent released Hunyuan3D 2.0 as open code and weights in January 2025, which is why so many tutorials show people running it on their own graphics card.
The studio does not run that open release. It runs Hunyuan 3D v3.1 Pro, listed in the model picker as Hunyuan 3D Pro, in both Image to 3D and Text to 3D. If you're comparing what you see here with a local 2.0 install, expect different results; they are different models.
Multi-view input: Hunyuan 3D's main advantage
Most image to 3D models see one photo and invent the rest. Hunyuan 3D Pro takes a front photo plus optional extra views. In the studio, picking it adds three slots next to the main Photo: Back view, Left view and Right view. The model itself accepts more angles, including top and bottom, but the studio composer shows those three.
Extra views help most when the hidden side differs from the front: a backpack, a figure with a cape, a chair with a carved back, a shoe with a logo only on the outside. For a vase or a ball, the front is enough and the extra photos just cost credits.
Misaligned inputs produce worse results than single-image mode.
That line from Tencent's guide is the rule to remember. The same guide asks for the same subject under the same lighting, the front at 0 degrees, the side at 90 and the back at 180, within about 5 degrees, and the same margin around the subject in every image. Shoot the views in one session, on a turntable or by walking around the object at the same distance and height. A side photo taken from your phone a week later, in different light, can make the model worse than the front photo alone.
The settings, and what each one costs
Open the Advanced panel and you get three settings. Each of them can change the price, so here they are with their effect on credits at the time of writing.
| Setting | Options | Default | Effect on credits |
|---|---|---|---|
| Generate type | Normal or Geometry | Normal | None |
| PBR materials | On or off | Off | Adds 32 |
| Face count | 40,000 to 1,500,000 | 500,000 | Any value other than 500,000 adds 32 |
| Extra views | Back, left, right | None | Adds 32, however many you add |
Generate type
Normal gives you a textured model. Geometry gives you the shape only, plain grey. It costs the same, so the only reason to pick Geometry is that you don't want a texture at all, for example a model you'll print in one colour or paint by hand.
Face count
The default is 500,000 faces, which is dense. That's fine for a render or a print, but heavy for a game engine or a web page. Lowering it costs 32 extra credits, which surprises people: you pay more to get a lighter mesh. If you can decimate the model yourself in Blender, keep the default and save the credits. If you can't, set the count you need here, for instance 50,000 for a web viewer.
PBR materials
Without PBR you get a colour texture. With it, the model also carries material maps that tell a renderer which parts are metal and how rough each surface is. Turn it on for anything shiny or mixed: a watch, a bike, a ceramic mug with a metal handle. Skip it for things that will be printed, since the maps are dropped the moment you convert to STL.
Photo and prompt tips for Hunyuan 3D
- One object per photo, whole, with a bit of space around it.
- A plain background. If yours is busy, cut the subject out with Remove Background first, and do the same for every view so they match.
- Soft, even light. Hard shadows get baked into the texture as dark patches.
- Don't send a sheet with several views in one image. Crop it into separate files and use the view slots.
- For text prompts, describe the object, not a photo of it: shape, material, style. "A ceramic teapot with a bamboo handle, matte glaze" beats "a beautiful cinematic shot of a teapot".
- No camera or lighting words in prompts. There is no camera in a 3D model.

Where it struggles
Most of these apply to every AI 3D generator, Hunyuan included. Glass, clear plastic and mirror finishes confuse it, because the photo shows what's behind or reflected in the surface. Thin parts, like antennas, chair spindles or sword tips, tend to come back too thin or fused to whatever is next to them. Text and logos usually end up painted into the texture rather than modelled, and they can blur.
Two things are specific to how Hunyuan runs here. The dense default mesh means big files, which slow down a browser viewer and need cleanup before real-time use. And the extra views only help when they agree with each other, so a careless set of photos costs you both the add-on and a worse model.
Hunyuan 3D vs Rodin, Tripo and Meshy
| Model | Inputs here | Main controls | Credits per run |
|---|---|---|---|
| Hunyuan 3D Pro | Text, or a front photo plus back, left and right views | Face count, PBR, Normal or Geometry | 81, up to 177 with add-ons |
| Hyper3D Rodin | Text, or one photo | Quality, Regular or Sketch tier, format (including STL), T/A pose | 86, or 258 with HighPack |
| Tripo H3.1 | Text, or one photo | Geometry and texture quality, face limit, quad mesh | 65 |
| Meshy 7.1 | Text, one photo, or up to four photos | Target polycount, quad topology, auto-rig and animation | 172 untextured, 258 textured |
Our pick: use Hunyuan 3D Pro when you have, or can shoot, matching back and side photos, since it's the cheapest way here to stop the model guessing. With a single good photo, try Tripo H3.1 first at 65 credits. For a print, Hyper3D Rodin can hand you an STL directly; see our Rodin examples for what it does with real photos. For a rigged character, Meshy 7.1 is the only one of the four with a rig option.
The short version
Hunyuan 3D here is Tencent's v3.1 Pro, not the open 2.0 release. It takes a front photo plus optional back, left and right views, or a text prompt. A plain run is 81 credits; PBR, a custom face count and extra views each add 32. Use extra views only when they're shot in the same light at true 90 degree turns, and expect dense 500,000-face meshes by default.
To try it with your own photos, open Image to 3D and pick Hunyuan 3D Pro in the model list.