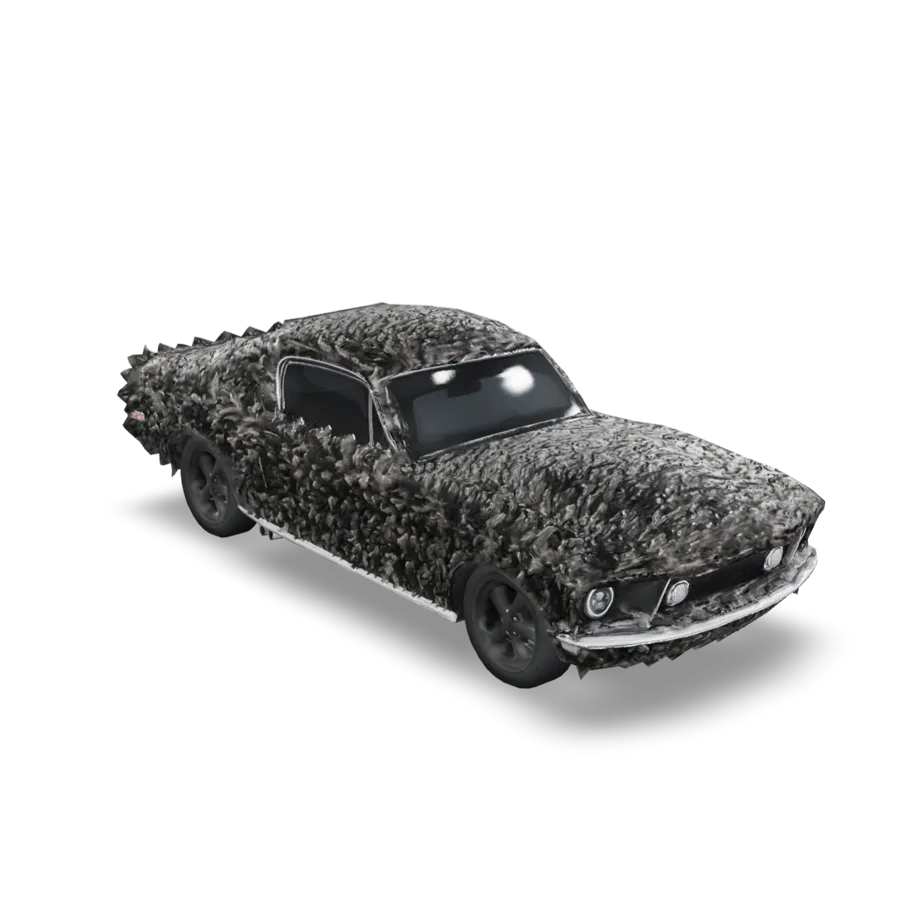
An AI STL generator can turn a sentence into a 3D model in a few minutes. Getting a model your slicer accepts, and that prints without a mess on the first layer, is a separate problem. Nobody warns you about it until you're standing at the printer.
This post is about the prompt-to-file part: what to type, which model and settings to pick, and what to check before you slice. If you're starting from a photo instead, How to Print 3D Images walks through photo, STL, slicer and printer step by step.
Why looking right isn't printing right
A 3D viewer only draws the surfaces you can see. It doesn't care whether they enclose a solid, whether the normals face outward, or whether two faces sit in the same place. A slicer cares about all of it, because it has to work out what is inside the object so it knows where to put plastic.
So a model can look great on screen and still be, to the slicer, a pile of triangles that encloses nothing. These are the usual culprits:
- Holes. A gap in the surface means there is no clear inside. The slicer guesses or gives up.
- Non-manifold edges, where one edge is shared by more than two faces. Common where generated parts merge.
- Flipped normals. Faces pointing inward, so the slicer reads outside as inside.
- Floating fragments not attached to anything.
- Overlapping shells, separate pieces pushed into each other.
Picking an AI STL generator model
Four models do Text to 3D in the studio. For printing, mesh quality matters more than a pretty texture, because a single-colour print throws the texture away.
| Model | Why for printing | Watch out for |
|---|---|---|
| Hyper3D Rodin | Its Advanced panel can set the output format to STL, so there's no conversion step | Thin parts come back thin and fragile |
| Tripo H3.1 | Face limit, plus Auto size for a more realistic starting scale | A low face limit softens small details |
| Meshy 7.1 | Remesh, a target polycount and a Smart Topology mesh type | Many settings, so more to get wrong |
| Hunyuan 3D Pro | Holds fine surface detail | 500,000 faces by default, so heavy files; lower Face count for printing |
Our recommendation: start with Hyper3D Rodin and set the format to STL. The cost is that an STL has no colour, so you don't get a textured version to keep. If you want both, generate a GLB and convert a copy. You can see what Rodin makes, including its weaker results, on the Hyper3D Rodin examples page.
Prompt for a solid object
Prompts that print well look different from prompts that render well. You're describing an object, not a photograph of one. Drop the lighting, the camera and the mood. Describe the form: what it is, how the parts connect, and whether it sits flat.
| Instead of | Try | Why |
|---|---|---|
| dramatic lighting, cinematic | even matte surface | Lighting words do nothing for the shape |
| delicate thin filigree | solid raised pattern | Thin parts fail in generation and again on the printer |
| floating crystal shards | single connected body | Loose parts become separate shells |
| highly detailed, intricate | simple bold shapes | Detail smaller than the nozzle can't print |
| figure mid-leap | figure standing on a flat round base | A flat base removes most support problems |
The checks to run before slicing
- Get an STL. If you have a GLB, the free 3D model converter writes STL in your browser. It doesn't repair geometry, so a broken mesh stays broken.
- Set the size. Open the STL in the free STL viewer, which shows width, depth and height in millimetres plus the triangle count. Decide on a real size now, because every check after this depends on it.
- Turn it over. A missing or ragged underside is common.
- Count the shells. More than one usually means floating bits or overlapping parts.
- Check the thinnest parts. On a standard 0.4 mm nozzle, walls under about 0.8 mm are a gamble.
- Run a repair pass in your slicer or mesh tool, then look at what it did.
- Preview the layers, not the model. Errors that survived everything else show up there.
Step five catches the most failures. Generators have no idea that plastic has a minimum thickness. They'll give you a sword with a paper-thin blade because blades look thin in pictures. Our own Rodin run of a spindle-back chair, from a photo, came back with every spindle as its own thin cylinder: great on screen, fragile on a printer.
A note on STL itself
STL is a list of triangles with no colour, no material and no units. The missing units cause real confusion. Slicers read the numbers as millimetres, while GLB files use metres. A converter keeps the numbers as they are, so a model about one unit tall in the GLB can land in your slicer about one millimetre tall. An STL made in inches arrives 25.4 times off. Nothing is broken. You scale it.
Converting to STL is also one way: the colour doesn't survive. For a single-filament print that costs nothing. For a multi-colour printer, keep the textured GLB and handle colour separately.
What to expect
AI 3D generation is good at organic, decorative objects: figurines, ornaments, busts, planters, terrain pieces. Close enough is fine for these, and nobody measures the result.
It's poor at anything that has to fit something else. A bracket that bolts to an existing part, a case sized to a circuit board, a gear that meshes with another gear. The model has no idea of measurement, so prompting your way to a 12 mm hole won't work. That's still a CAD job.
Generated geometry is for things that need to look right. CAD is for things that need to fit.
The useful middle ground: generate the decorative shell, then model the functional parts in CAD. A sculpted lamp base from a prompt, with a properly modelled cable channel added afterwards, uses both tools for what they're good at.
The short version
Printable means watertight and manifold, and a viewer won't tell you whether a model is either. Prompt for one solid, connected object on a flat base. Start with Hyper3D Rodin set to STL, or convert a GLB in the browser. Then set the size, turn it over, count the shells, check the thin parts and preview the layers. Expect good results on sculptural objects and open CAD for anything that has to fit.
To try a prompt, start on the Text to 3D page. The converter and the STL viewer are free, with no account.