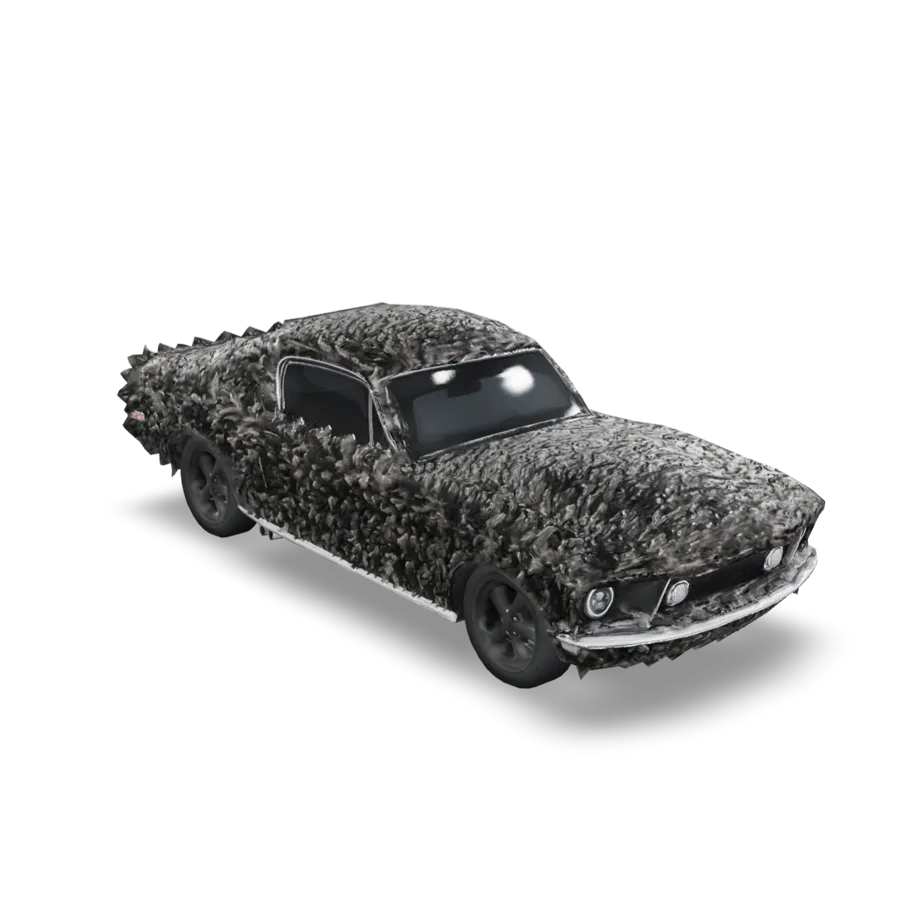
Type "a cozy study with a desk, a reading lamp, an open book and a mug of tea" into a 3D scene generator and you get something strange. Not a room. One fused lump where the desk has grown into the lamp, the book is a pattern painted on the surface, and the mug is a bump. From a distance it looks like the idea of a study.
That surprises people used to image models, where the same prompt works well. The reason it fails in 3D is structural, and once you see it, the workaround is obvious.
Why a 3D scene generator prompt fails
Image models compose. They learned from huge numbers of photos of whole scenes, so arranging several things in a frame, overlapping and hiding each other, is their core skill.
Today's 3D generators build one model per run, usually a single connected object. When your prompt names four things, the model doesn't make four meshes and place them. It makes one mesh that tries to be all four.
We've seen it from the photo side too. On our Hyper3D Rodin examples page, a photo of headphones on a stand came back with the stand, the headphones and the loose cable as one mesh. A sheet with three views of a mug came back as three mugs stacked on top of each other.
The assembly workflow
It's less exciting than one prompt. It's also the difference between a demo and something you can use.
- Write the shot list. Break the scene into objects: desk, lamp, book, mug, chair, rug. Each one is its own generation.
- Generate each object alone in Text to 3D. One noun phrase per prompt: "a wooden writing desk with four legs" and nothing else.
- Set the scale as you go. Tripo H3.1 has an Auto size option; either way, set real dimensions per object.
- Assemble in a 3D tool you already use, like Blender or your engine. Placement is a fast human job.
- Light the scene there. Lighting words in a 3D prompt don't light anything.
- Render or export from the assembled scene.
Step three is the one people underestimate. Generated models arrive at arbitrary sizes, so your mug may come out bigger than your desk. Fixing each object as it arrives takes seconds. Finding the problem after you've placed twenty things takes an afternoon. Even when a model guesses a size for you, check it against your reference object before you place anything else next to it.
Making separate objects look like one scene
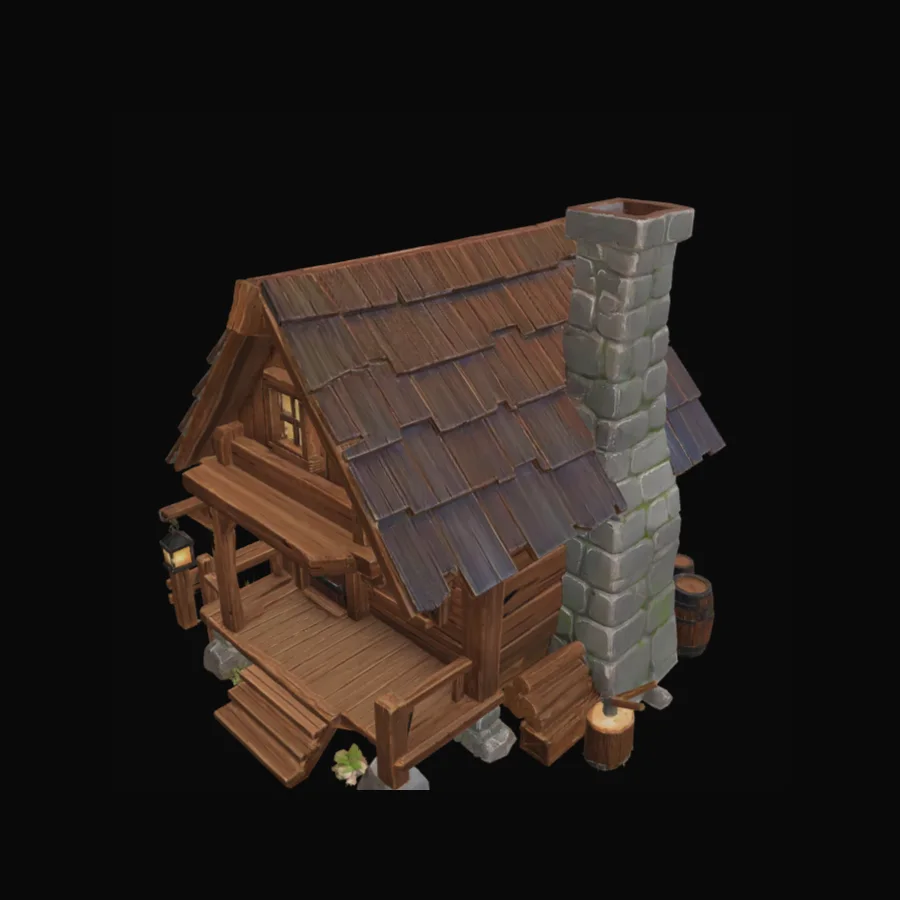
The hard part of assembly isn't placement. Six objects generated separately can look like they come from six different worlds: one photoreal, one cartoonish, one warm, one oddly cold. Coherence takes work.
The fix is to treat style as a rule you apply to every prompt instead of something you hope for.
| Technique | How | Cost |
|---|---|---|
| Shared style suffix | Add the same phrase to every object prompt | Almost none |
| One model per scene | Generate every object with the same model and settings | You lose each model's strengths on some objects |
| Neutral materials | Ask for matte, plain surfaces | Less character straight out of the generator |
| Same poly budget | Use the same face limit or target polycount for the set | Small objects carry more faces than they need |
| Retexture at assembly | Replace generated materials in your 3D tool | The most reliable fix, and the most work |
The shared suffix is the cheapest and does most of the work. Write it once and paste it onto every prompt. Something like "matte surface, neutral grey, simple forms" on all six objects gets you much closer to a matching set than tuning each prompt on its own.
Do you need 3D at all?
If what you need is a picture of a scene, not a scene you can move through, reconsider the whole approach. Image models compose scenes natively and do it far better. If nobody needs to orbit the camera, change the layout or export geometry, Text to Image gives a better result in a fraction of the time.
3D is worth the assembly cost when you need real geometry: a walkthrough, a game level, a printed object, or a scene you'll relight and shoot from many angles.
If the deliverable is a picture, generate a picture. 3D is for when the camera has to move.
A hybrid that works well
There's a middle path: design the scene as an image first, then turn the parts you need into 3D.
- Compose the scene in Text to Image, where layout is easy.
- Iterate until the layout and mood are right. Images are fast and cheap compared with 3D runs.
- Cut out each object you need with Remove Background, or regenerate it on its own against a plain background.
- Turn each object into a mesh in Image to 3D.
- Rebuild the scene in 3D, using the image as your layout reference.
Each tool does what it's good at. The image model decides the composition, the 3D models make single objects, and you get a reference picture that turns assembly into matching a target instead of guessing. The catch: an object cut out of a busy scene is often partly hidden, and the 3D model has to invent the hidden part. Regenerating it alone usually gives a better source.
What to expect
Rooms and enclosed spaces are the weakest case. Ask for a room and you tend to get something that looks like a room from outside and is solid or chaotic inside. Build rooms from walls, floor and furniture as separate pieces. Large environments and terrain are out of scope too: a generated boulder is fine, a mountain range isn't.
The realistic result is a scene of somewhere between five and thirty generated objects, arranged by you, in a space you built. That's useful. It isn't the one-prompt scene some marketing implies. Every object is a separate run, so a thirty-object scene costs thirty generations, plus the ones you redo.
The short version
A 3D scene generator makes objects, not scenes, so multi-object prompts fuse into one blob. Write a shot list, generate each object alone, set the scale as you go and assemble in a 3D tool. Keep the style consistent with a shared prompt suffix and one model per scene. Light everything at assembly. And if the deliverable is only ever a picture, generate a picture instead.
To start your shot list, open Text to 3D. The free 3D model converter helps if your 3D tool wants OBJ or STL instead of GLB.