
The print shop flagged your file as low resolution, or the DPI calculator said 110 DPI at the size you wanted. Either way the image is too small for the print. This is the upscale image for printing routine we use, start to finish: how much bigger the file needs to be, which upscaler to pick, how to check the result, and what to send the lab.
If you haven't settled on a DPI target yet, read the best DPI for printing first. Short version: 300 for prints people hold, about 150 for posters on a wall.
Step 1: Work out how short the file is
You need two numbers: the pixels you have and the pixels the print needs. Pixels needed = print size in inches × DPI. An 8×8 inch print at 300 DPI needs 8 × 300 = 2400 pixels on each side.
The upscale factor is pixels needed ÷ pixels you have. A 1024×1024 image going to that print: 2400 ÷ 1024 = 2.34, so you need at least 2.4x. When the image and the paper are different shapes, do the division for both sides and keep the bigger factor, because that's the side that runs out first.
The free DPI calculator does this for you. Drop the image on it, pick the print size and DPI, and it shows the factor. It reads the file in your browser and uploads nothing.
Crop before you measure. If a square image is going onto 8×10 paper, decide which part you're keeping, crop it to 4:5, and work out the factor from the cropped size. Cropping throws pixels away, so the factor after the crop is bigger than the one you'd get from the full image, and that's the number the print cares about. Cropping first also means you don't pay to upscale a strip the printer cuts off anyway.
Round up to a step, not to 4x
Both upscalers here work in half steps. For 2.4x, pick 2.5x: 1024 × 2.5 = 2560 pixels, which prints 8 inches wide at 320 DPI. Resist jumping to 4x to be safe. A 4x output has 16 times the pixels of the original, so the model invents almost all of what you see, and the price follows the output size.
| Image you have | Print you want | Pixels needed | Factor needed | What we'd pick |
|---|---|---|---|---|
| 1024×1024 | 8×8 in at 300 DPI | 2400×2400 | 2.4x | 2.5x |
| 1536×1024 | 18×24 in poster at 150 DPI | 3600×2700 (landscape) | 2.7x | 3x |
| 1536×1024 | 18×24 in at 300 DPI | 7200×5400 (landscape) | 5.3x | 5.5x on Topaz, or print smaller |
| 3000×2400 | 8×10 in at 300 DPI | 3000×2400 (landscape) | None | Print as is |
The third row is the honest answer for a lot of AI images headed for a big poster: a 5x upscale is possible, but at that point most of the picture is the upscaler's guess. Printing the poster at 150 DPI and letting the viewing distance do the work is often the better call.
Step 2: Pick the upscaler
Two upscalers run in the Image Upscale tool, and they pull in different directions.
- Topaz Upscale stays close to the original. It goes up to 6x, has a choice of model types (Standard V2 is the default; others include High Fidelity V2, Low Resolution V2, CGI and Text Refine), a face enhancement switch, and saves JPEG or PNG.
- Clarity Upscaler adds new fine texture. It goes up to 4x, and its Creativity and Resemblance sliders set how much it invents versus how closely it sticks to your image. You can also type a short prompt to steer the detail.
Our default: Topaz for photos, product shots and anyone's face, Clarity for generated art and illustration you want crisper. Past 4x, Topaz is the only option, so check those results twice as hard. Upscaling needs a paid plan, the credits depend on the output size, and the studio shows the estimate before you press Generate.
What an AI upscaler can and can't recover
An AI upscaler doesn't find hidden detail in your file. It has learned what detail usually sits in a patch that looks like yours, and it draws that in. The result is plausible, not true. For feathers, fabric, foliage, stone or skin texture that's fine: nobody knows what the original strands looked like, so nobody can tell.
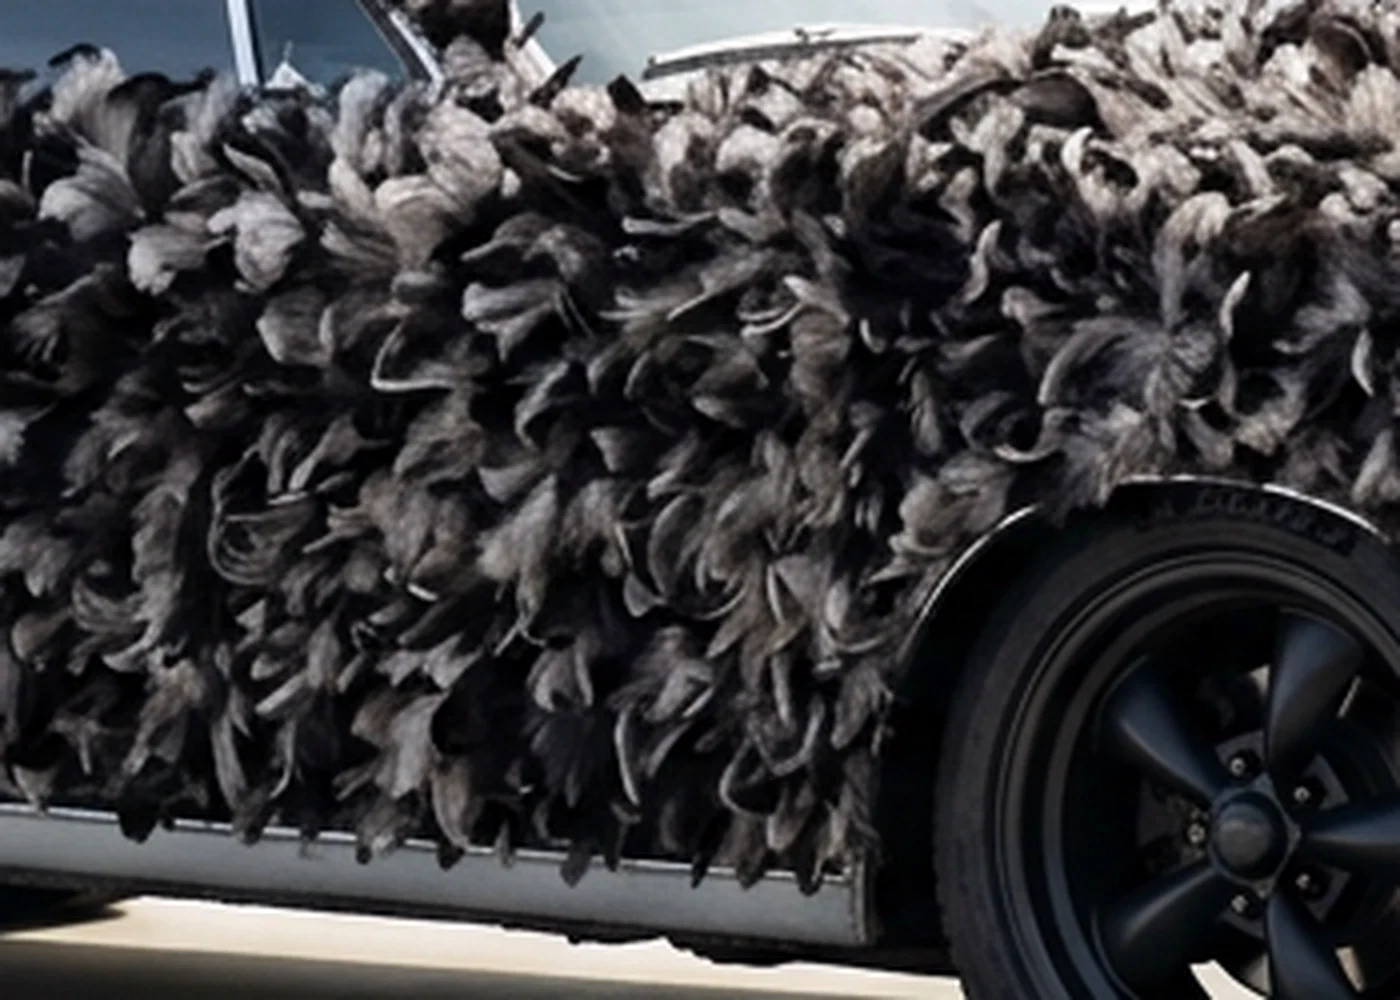
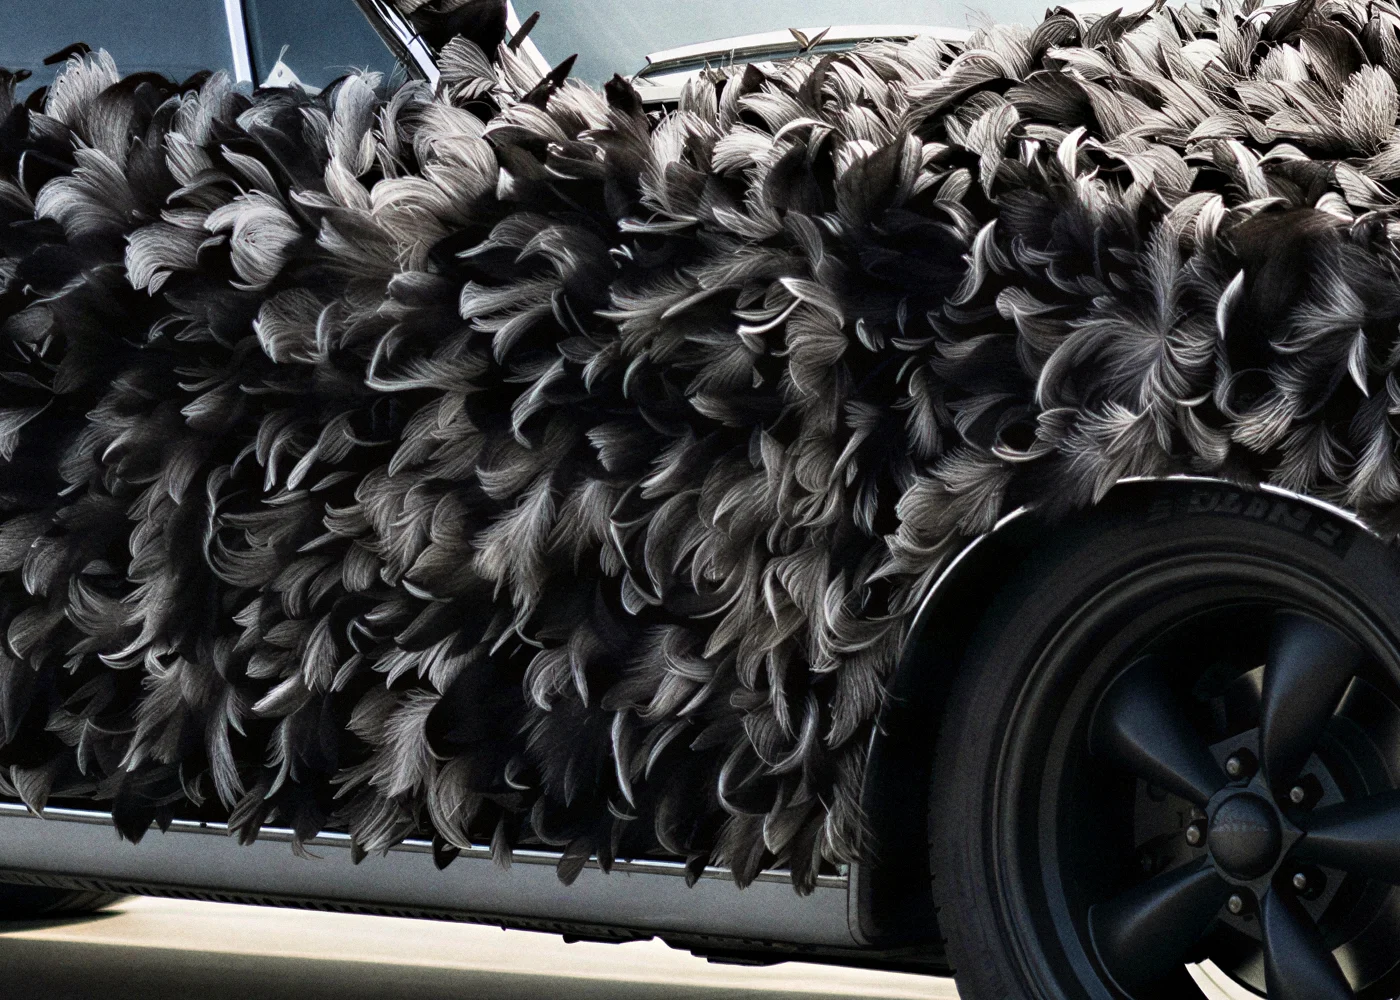
That tyre is the failure in miniature. Anything a viewer can check against reality is at risk: small text, logos, numbers on a sign, and the face of someone you know. A face that was twenty pixels wide comes back as a face, just not quite theirs. Motion blur gets crisper edges without turning into a sharp photo, because the detail was never captured.
Step 3: Check the result at 100%
Zoomed out to fit the screen, every upscale looks great. Open the result at 100%, one image pixel per screen pixel, and pan across all of it. In the studio viewer you can zoom with the scroll wheel or a pinch and flip between the input and the output. Look for:
- Waxy skin, mismatched eyes, teeth that blur into one block.
- Lettering and logos.
- Texture appearing on things that should be flat, like a clear sky or a painted wall.
- Bright halos where a dark edge meets a light background.
- Brick, tiles or fabric patterns that drift or double.
A typical desktop monitor shows far fewer than 300 pixels per inch, so 100% on screen shows the image bigger than a 300 DPI print will. If it holds up there, it will hold up on paper. If it doesn't, drop the factor or try the other model before you start over.
Step 4: Export a file the print shop accepts
Most photo labs ask for an 8-bit sRGB JPEG saved at high quality. Some also take PNG or TIFF, some take only JPEG, and WebP is rarely on the list. The lab's own upload guide wins, so read it before you export.

Topaz Upscale can save JPEG or PNG directly. If you end up with WebP or another format the lab won't take, the free image converter turns it into JPG or PNG in your browser. Keep a PNG if you plan more edits; upload a high-quality JPG as the final file, since it's far smaller and it's what most labs expect. The cost of JPG is a little compression, which at high quality you won't see on paper.
Skip the step where you type 300 into the file's DPI field. It doesn't touch the pixels. What the print needs is enough pixels for its size, and after step 1 you already have them.
The short version
Divide the pixels the print needs by the pixels you have, take the bigger side, and round up to the next half step. Use Topaz for photos and faces, Clarity for AI art. Expect invented detail, so check text, logos and faces at 100%, and fix problems before you upscale rather than after. Export a high-quality sRGB JPEG unless your lab asks for something else.
To try it on one image, open Upscale AI art for print. Browsing is free; the upscale itself uses plan credits.


